Large growbag
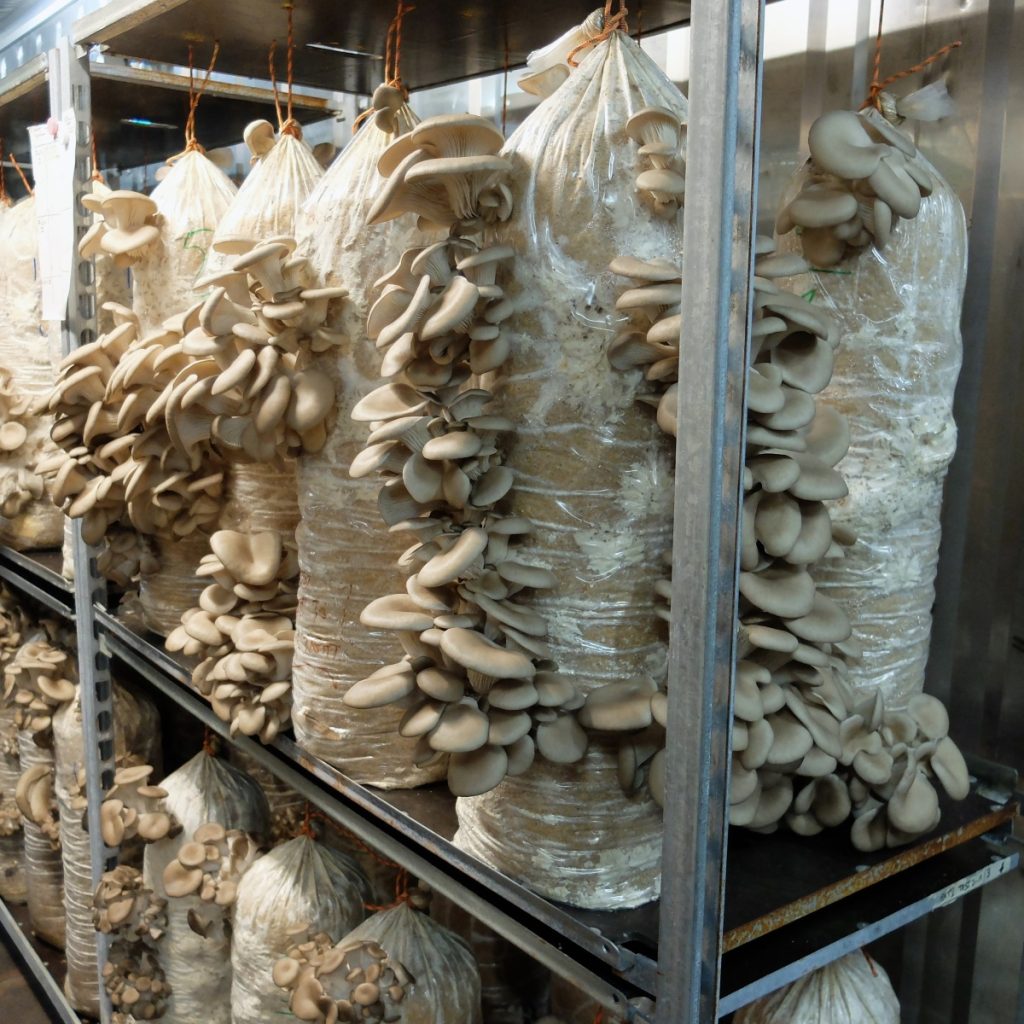
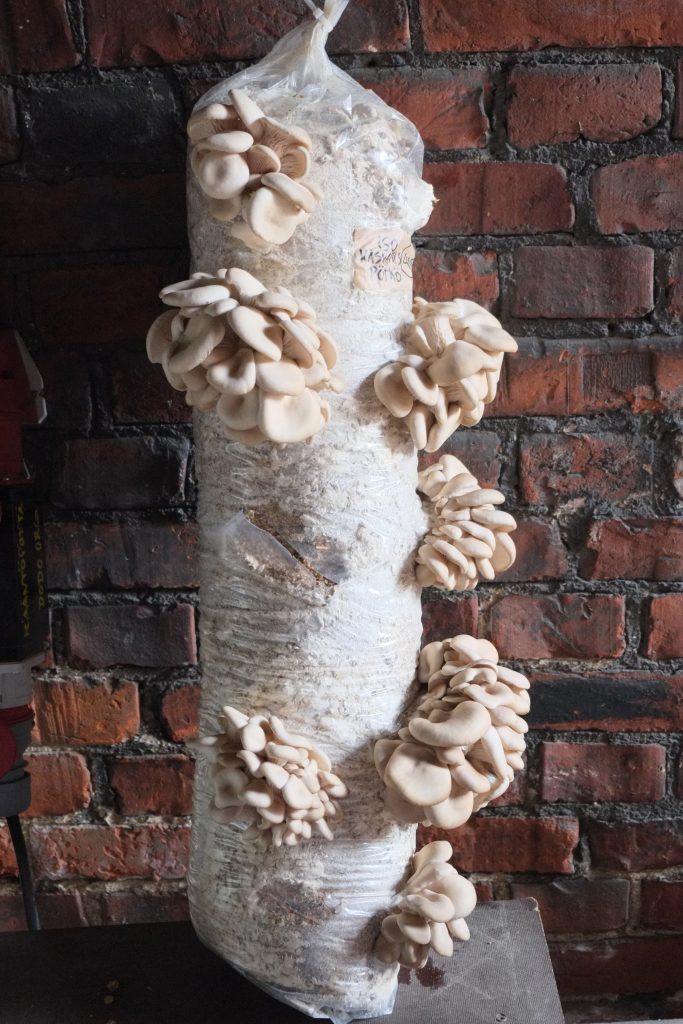
This large bag of sporeless oyster mushroom substrate can yield up to 3 kg of fresh mushrooms in just a few weeks.
We prepare these substrates at our farm in Karjaa, Finland, using a mixture of straw and coffee grounds, which is heated (pasteurized) to eliminate competing microorganisms. After cooling, it is inoculated with oyster mushroom mycelium and incubated for about 2–3 weeks under clean and controlled conditions.
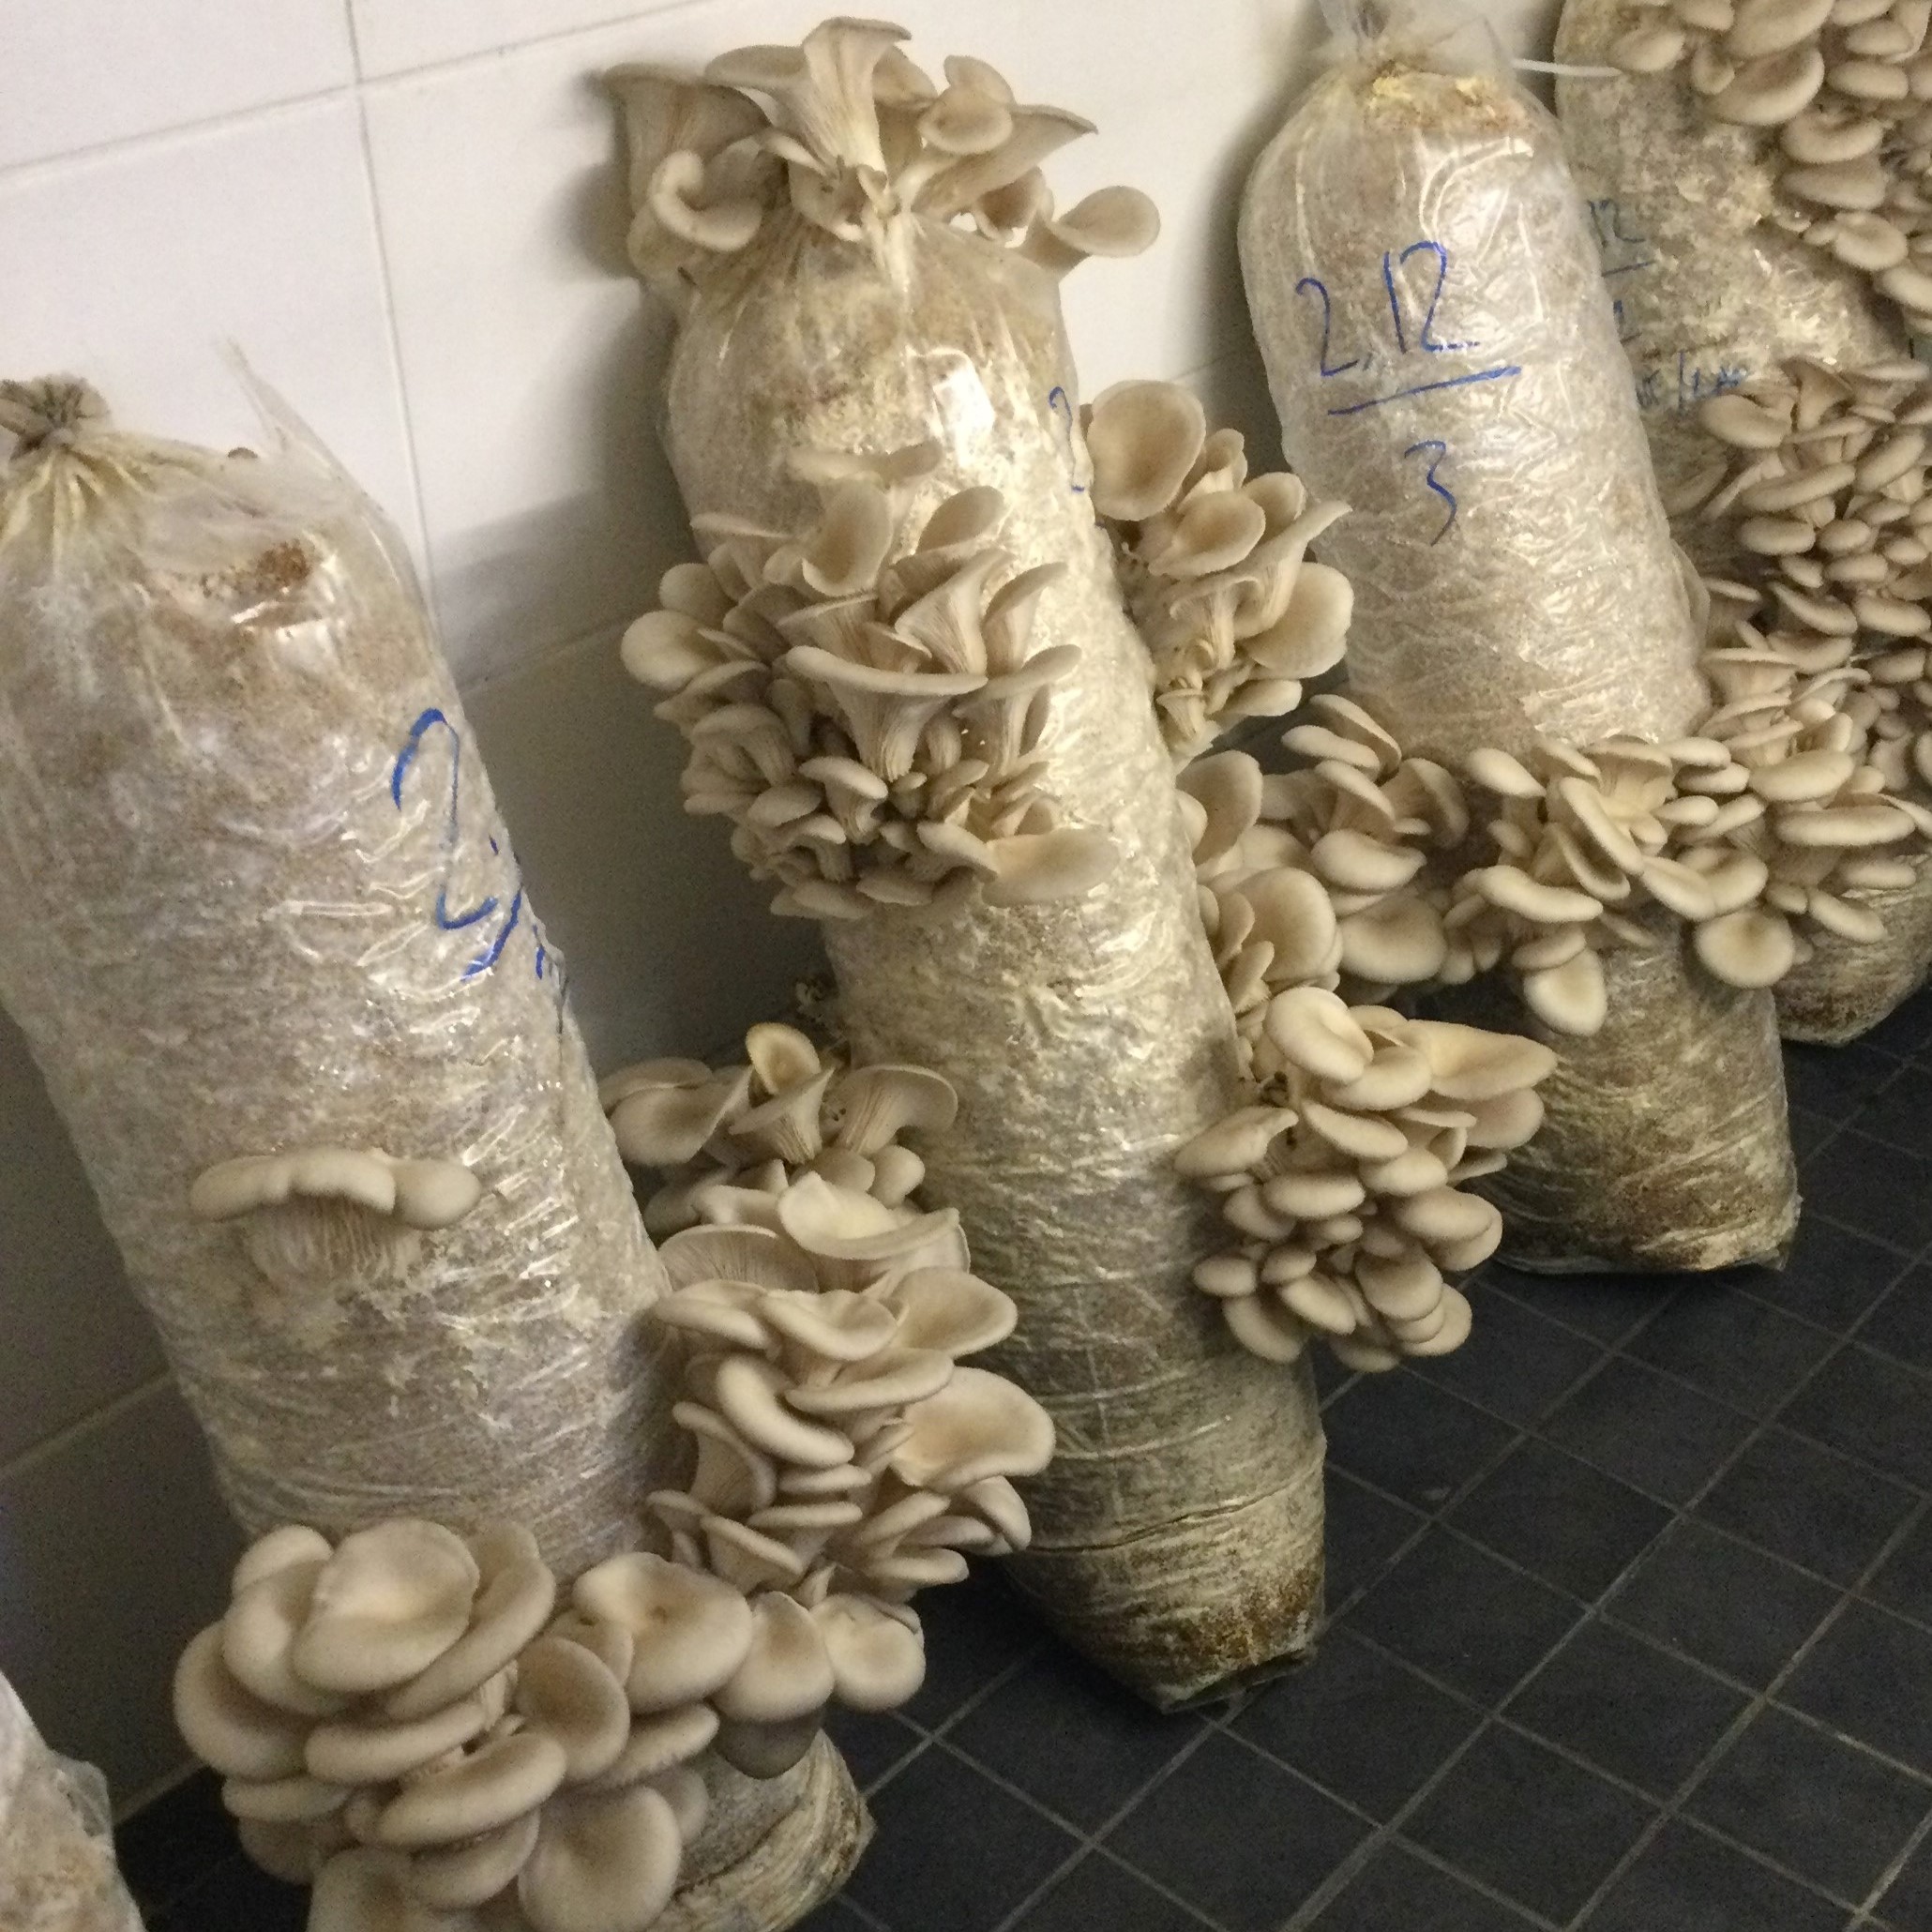
Large growbag: oyster mushroom
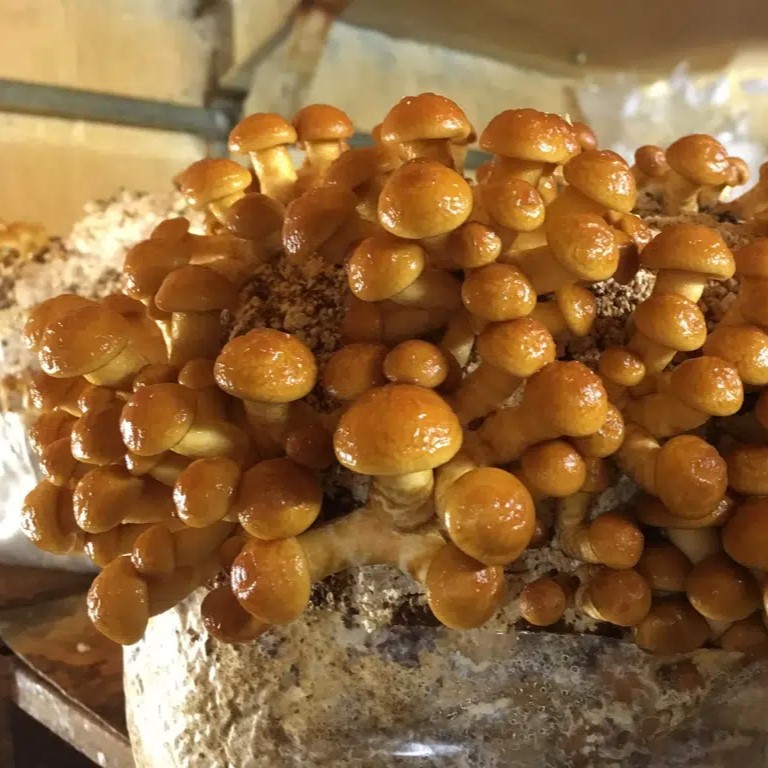
Large growbag:
nameko
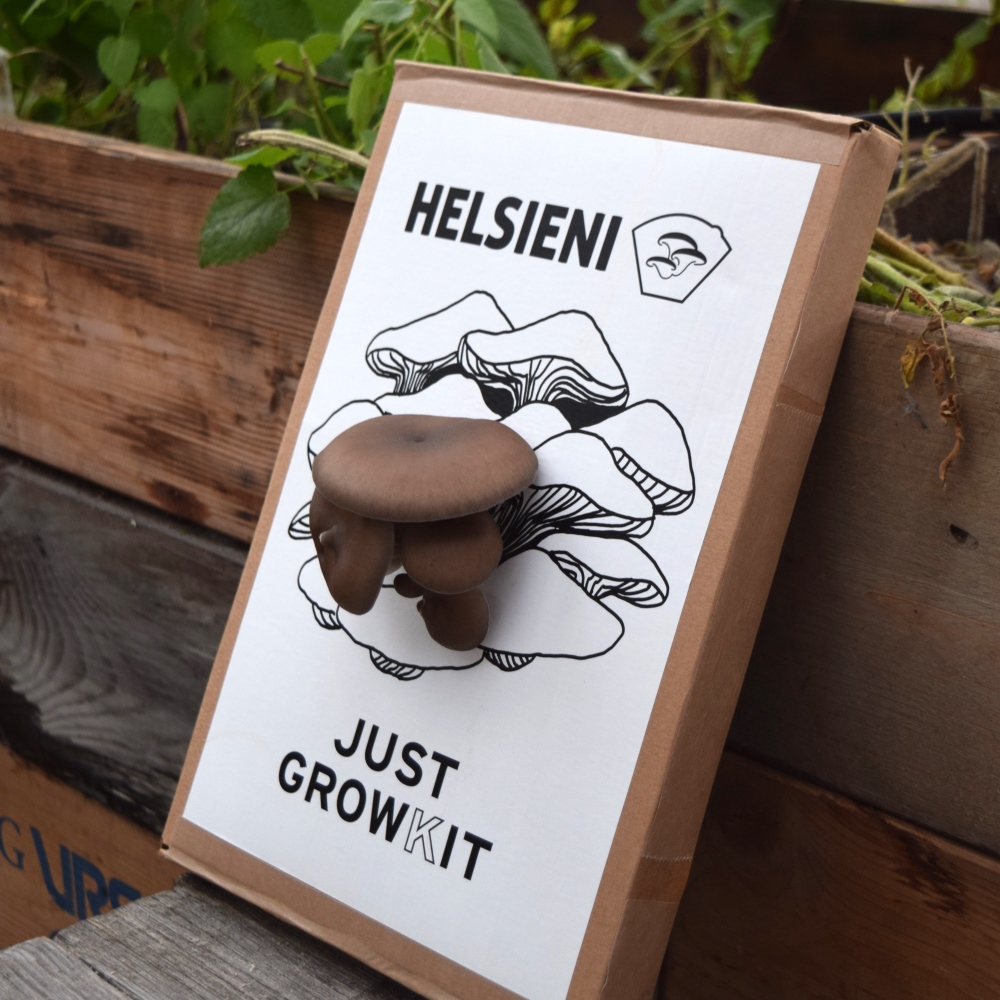
Just
Growkit
Create a suitable growing environment
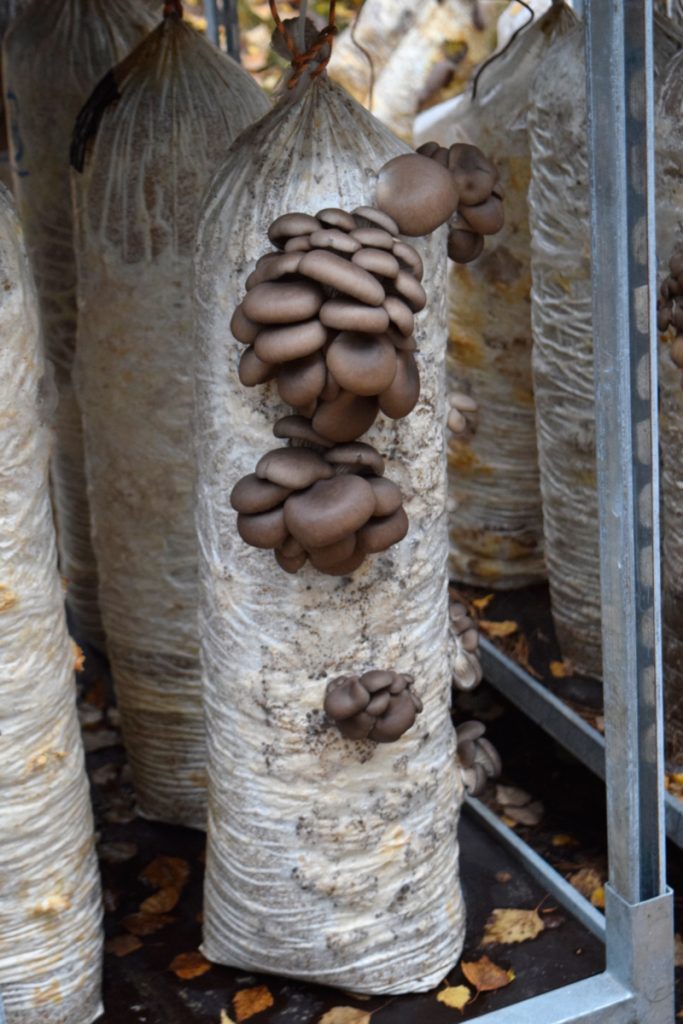
For example a root cellar, a shaded greenhouse, a garage or a shaded spot on a balcony. Helsieni’s large growbag is designed to be placed upright. A string can be tied around the top to prevent it from falling over. Placing it horizontal is possible, but has a higher risk of contamination after the first harvest.
Airflow
The substrate is alive and needs plenty of fresh air and good circulation to create well-formed mushrooms. Mushrooms do not like strong wind. For natural indoor ventilation give the growbag 3 m³ of space, if using mechanical ventilation you can give it 1 m³.
Humidity
Minimum: 50%, optimal: 80%, maximum: 95% relative humidity.
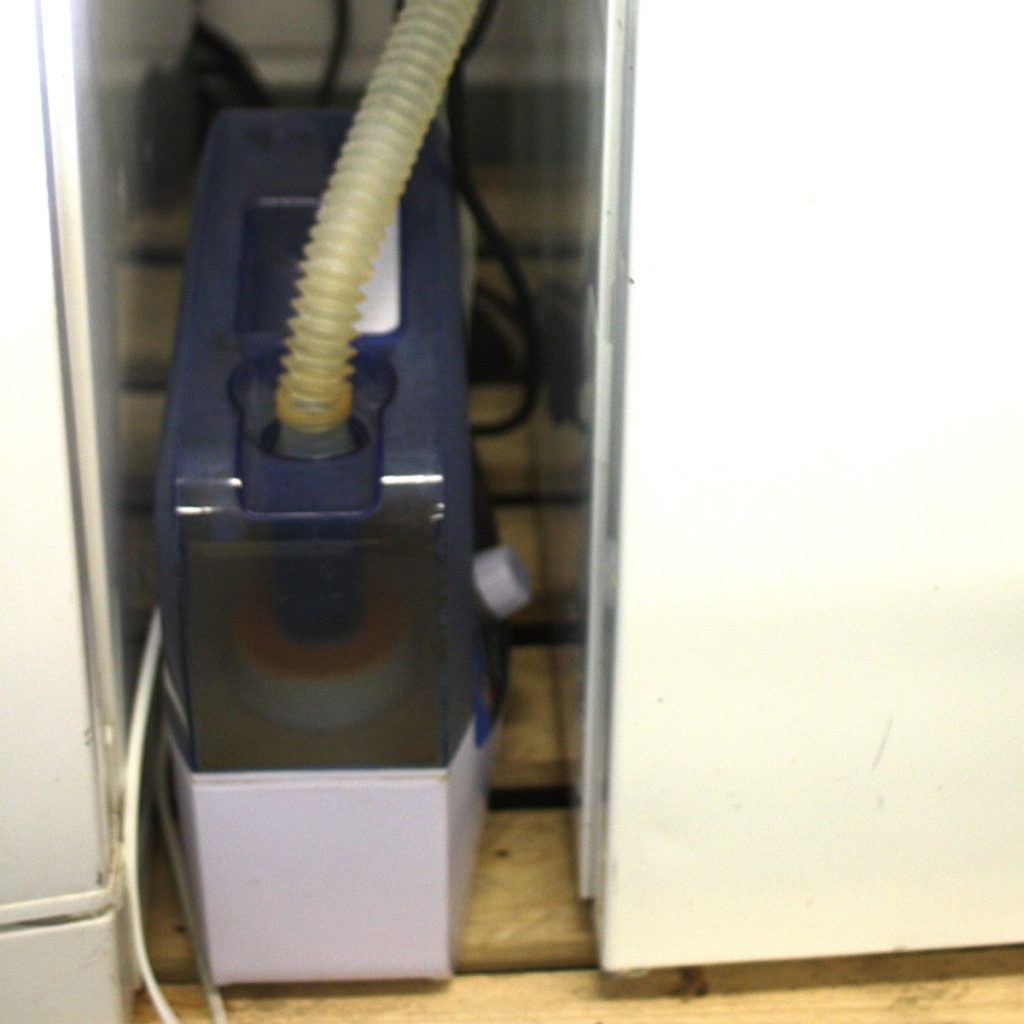
Humidification can occur naturally in a cool basement or outdoors on balcony, manually using a mister, by wetting the floors or by hanging wet towels, or automatically using an humidifier connected to a timer or a humidity controller.
Temperature
Minimum: 5 °C, Optimal: 15 °C, Maximum: 20 °C.
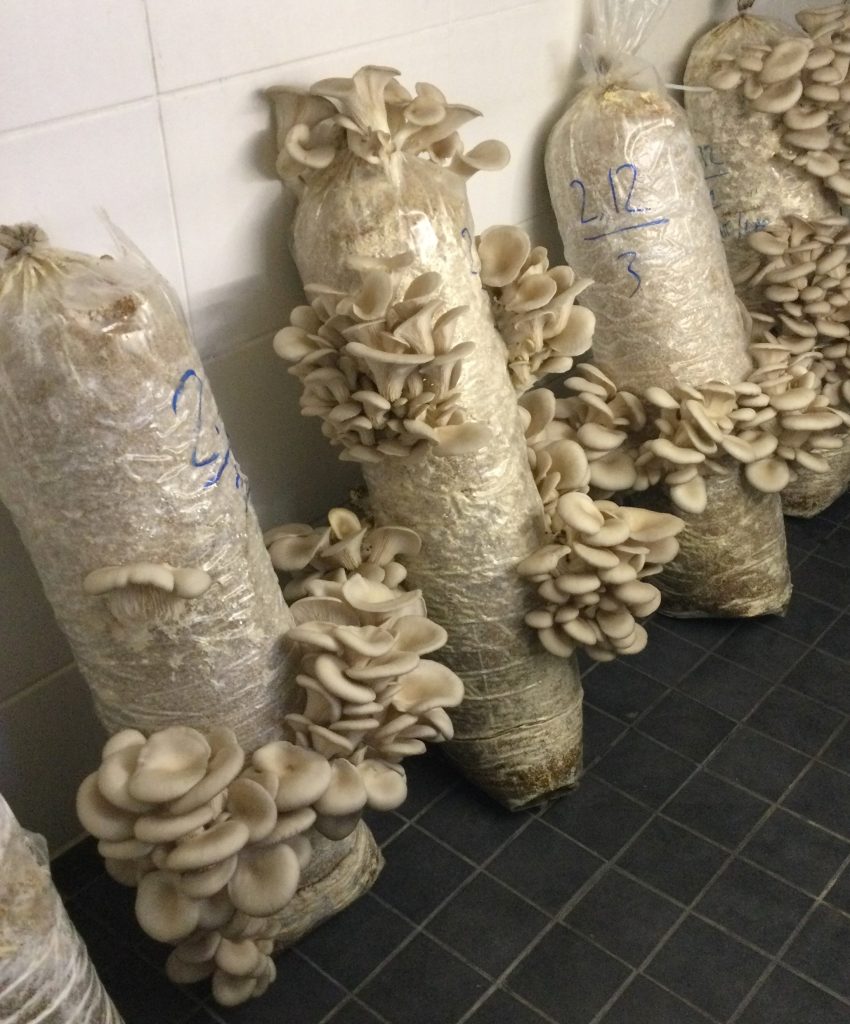
Oyster mushrooms prefer to grow in temperatures below 20 °C. If you do not have such a space, you can provide a higher humidity, as the evaporation cools the substrate. With lower temperatures the mushrooms grow more slowly, and are of better quality.
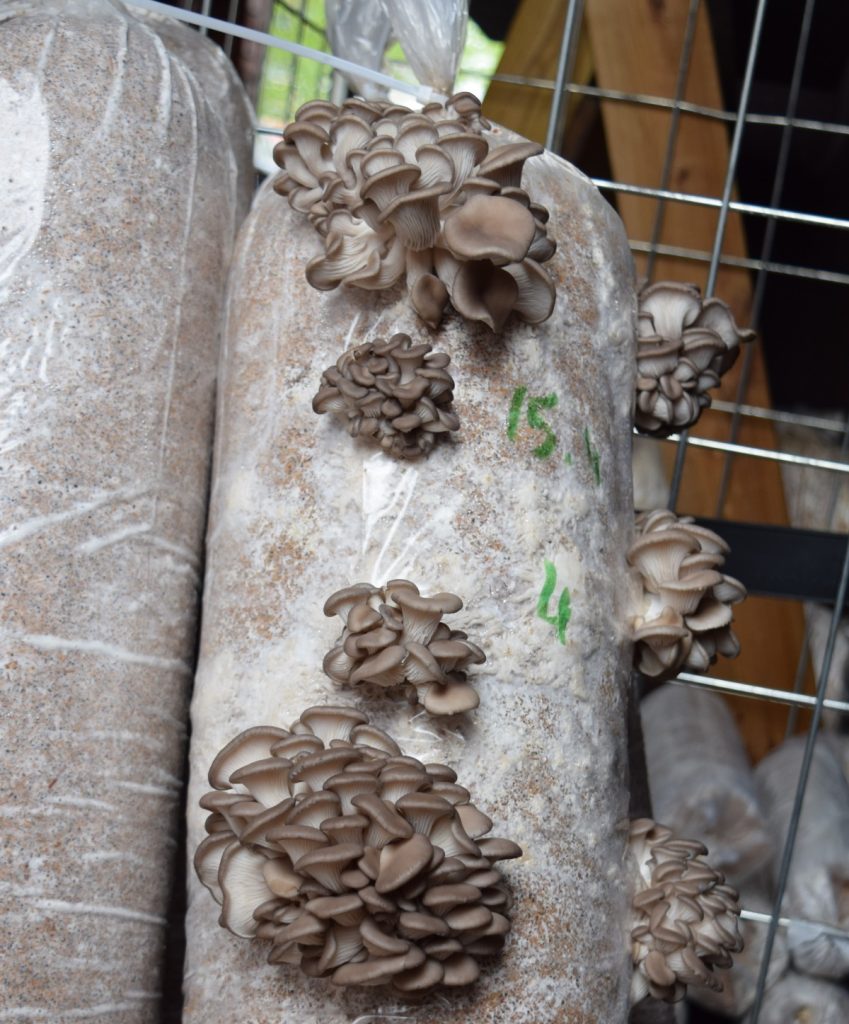
NOTE: Oyster mushrooms change color with temperature: lighter towards 20 °C and darker towards 5 °C.
Light
Mushrooms need some light to find their way out of the bag. A regular electric light in 12-hour cycles or a small window with a curtain is sufficient. Avoid direct sunlight as it damages the mycelium.
Make cuts in the bag
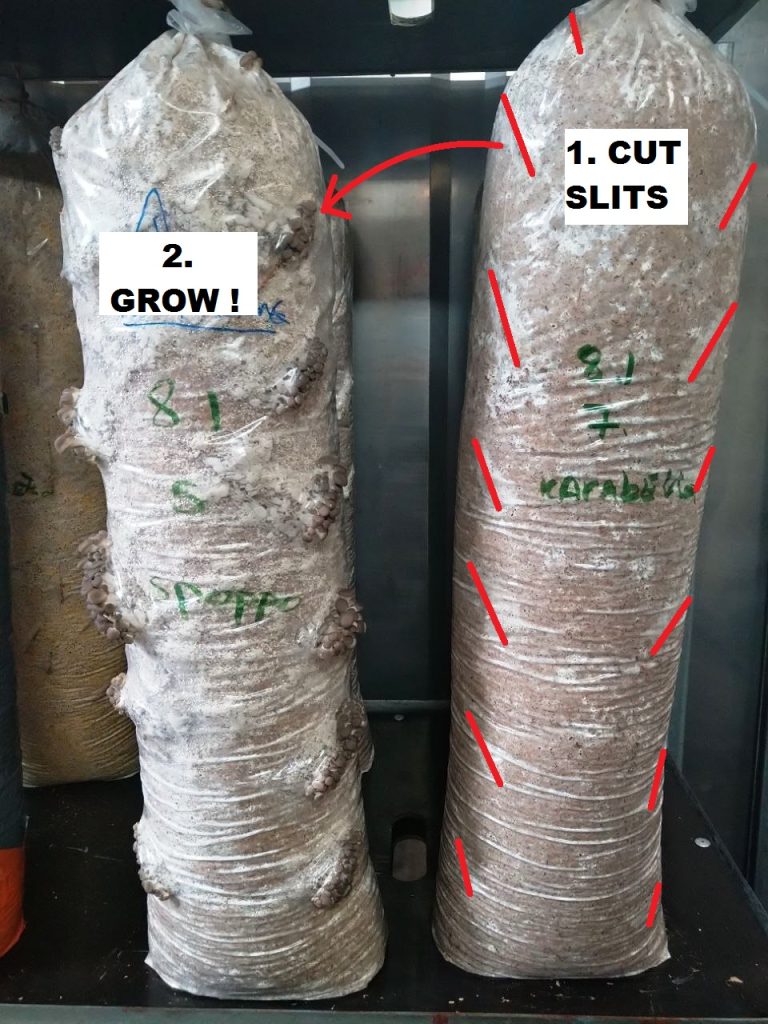
Using a sharp and clean knife, make around 12 cuts in the bag, each about 8 cm in length. Within 1-2 weeks small mushrooms should appear from these slits. 5-7 days after appearing, the mushrooms are ready to harvest. 2–3 weeks after the first harvest, you can expect a second flush of mushrooms.
NOTE: For the second harvest: if small mushrooms appear farther away from the slits you made earlier, you can make new cuts above them to prevent the mushrooms from growing under the plastic.
Harvesting mushrooms
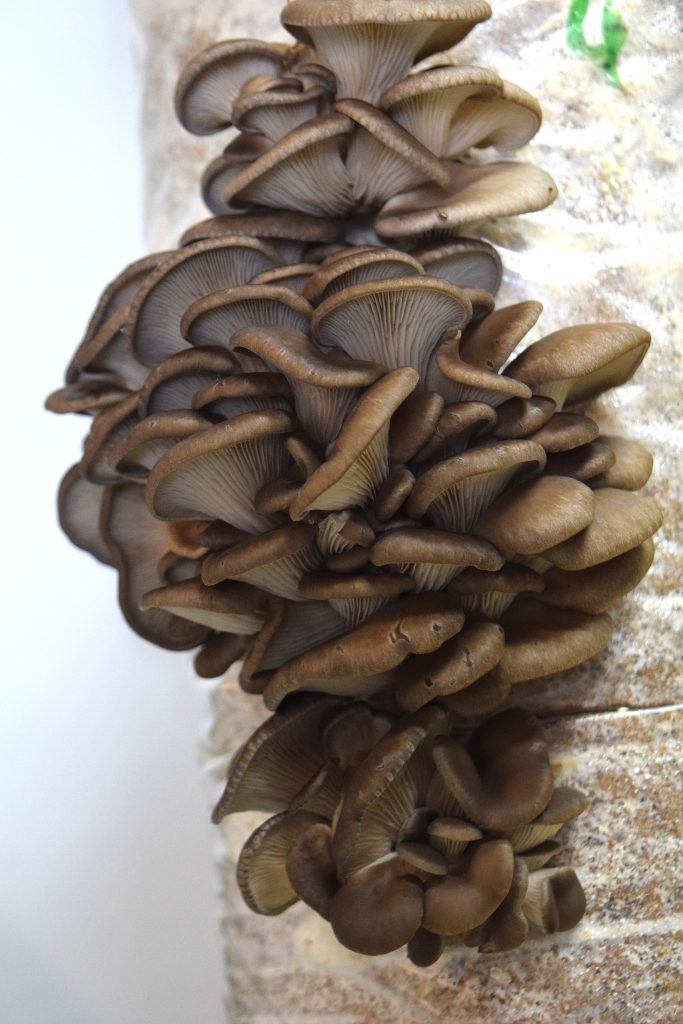
Mushrooms grow very fast and within 5-15 days (depending on the temperature), the mushrooms will stop growing and the edge of their caps will begin to flatten. When the largest mushroom of the cluster starts to get a thin cap edge, it is time to harvest the the entire cluster. Grasp the whole cluster and harvest it by turning it.
NOTE: Clean indoor growing environments every other week. Disinfect it with a vinegar solution or a steam cleaner before bringing in a (new) growbag.
What should I do with the spent substrate?
Make a mushroom bed in your garden! Take the substrate out of the bag and spread it on top of the soil. Press it down firmly and water it thoroughly. In 2–3 weeks, you might already get a new harvest.
Can I store the growbag?
If you want to delay your harvest, you can store it in a cool place or in the refrigerator for a few weeks. The temperature should be as low as possible, but still above freezing. Night frost won’t harm the mycelium.
Larger orders
We offer discounted prices for larger orders. If you plan to purchase 6 growbags or more, please contact us at info@helsieni.fi.